PCB Repair: Speed Buggy/Buggy Boy
Problem
No sprites displayed:
Diagnosis
Buggy Boy is a game close to my heart as it was one of the first I added to MAME back in 2006. It is a very large, incredibly complex boardset:


Luckily, full schematics are available. Probing around the sprite hardware (TC-042 sheets 1-4) with a ‘scope, I found that most of it was inactive. Eventually I traced the source of inactivity back to the FMA3 signal, which was stuck low and was gating the other timing signals.

FMA3 is a signal derived from some of the memory refresh outputs of the 6845 CRTC controller on the CPU PCB. Said outputs (MA[0:4]) were floating.


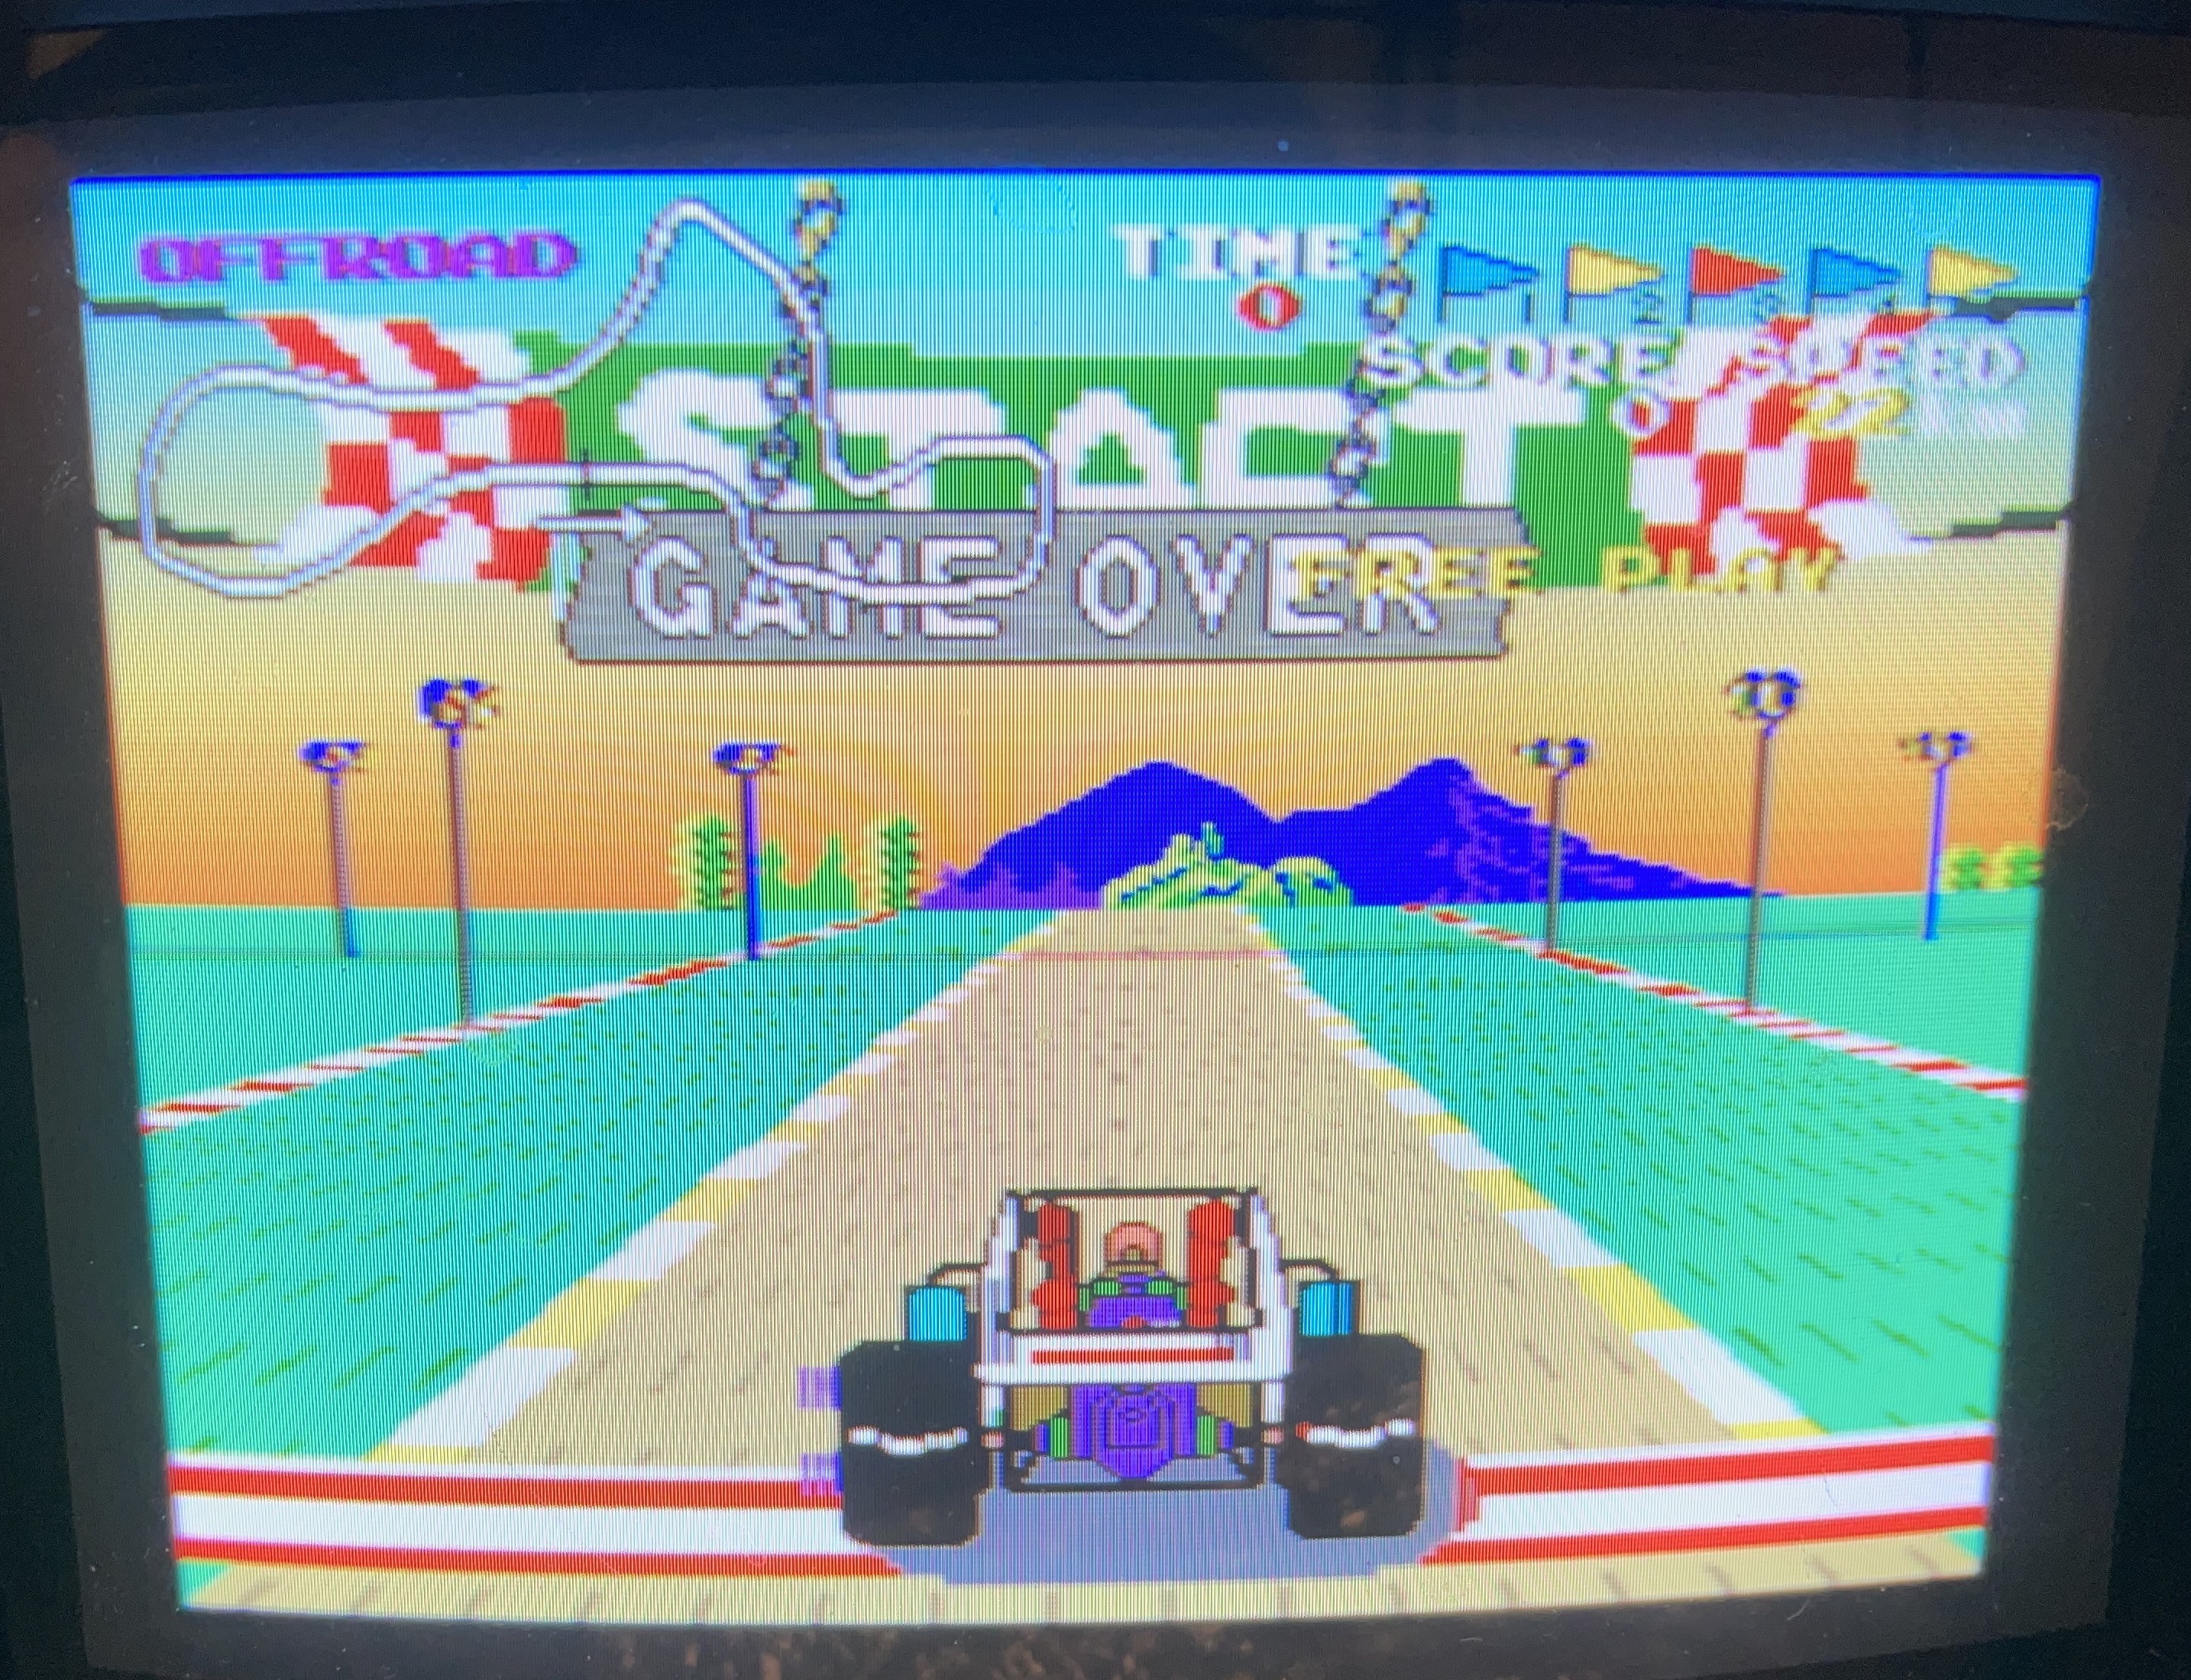
Replacing the CRTC resurrected the sprites, albeit with some glitches around the edges of the sprites:
Within the space of 5 minutes, a fault developed which turned the tilemap layer completely black and forced it in front of the other layers:

The LS378 at IC20 on the video board, which holds the tilemap output color index, had majorly failed, causing all of its outputs to float. It may not be surprising to hear that it was a Fujitsu IC – notorious for their high failure rates. IC192, another Fujitsu LS378, also had two floating outputs, likely causing the jail bars around the sprite edges. I removed all 8 LS378s, ridding the PCB entirely of Fujitsu ICs to prevent further misery down the road.


After fitting new LS378s, things improved somewhat. There was still a fault affecting the scaling of the sprites though:
The scaling part of the sprite hardware is built around a 6-bit 7497 binary rate multiplier. It produces a pulse train with a frequency proportional to the value written to its inputs. Well, under normal circumstances it does. This particular IC had busted, floating outputs…


A new SN7497N, courtesy of Mouser, fixed the sprite scaling issue and ended this repair…
…until something else failed while the game was left running overnight, causing sprites to glitch when exceeding a certain scale factor:
I suspected one of the gates around the 7497:

Probing the ICs with the ‘scope didn’t reveal anything unusual. However, using the logic analyzer to observe gate 1 of IC201, a 74S00 quad 2-input NAND gate, revealed that its output was behaving like a NOR gate!

My device programmer’s IC test function provided a second confirmation:

Replacing IC201 fixed the damn thing once again. After leaving the boardset to burn-in for over 24-hours, no further faults occurred. Phew.
Fixes
Replace HD68A45SP at IC179.
Replace 74LS378 at IC20.
Replace 74LS378 at IC192.
Replace SN7479N at IC199.
Replace 74S00 at IC201.
i dont understand a thing about fixing electronics but damm It’s so interesting
Congrats for the nice fix!
Do you know where to search for faulty chip when my buggy boy junior shows this sort of error codes?
Error C Ram a=13BA D=AB55
1st test 2nd test
data data
adr T. F. AD T. F
1378 4446 4647
13FO AA55 FFFF
and
Error C Ram a=13DO D=AA57
1st test 2nd test
data data
adr T. F. AD T. F